We didn’t have room in our apartment for a Christmas tree this year. It kind of broke my heart. One of my most favorite things about Christmas is having a tree- the smell, the warm glow of the multi-colored lights in the darkened living room on a cold winter evening, the sounds of cats choking on, and then throwing up, tinsel in the middle of the night with that deep throated “Hhhheeee, Hhhheeee” sound.
To scale down our holiday this year to the miniscule size of our apartment I decided to put up a wreath instead of a tree. It will make less mess than a tree (I hate all those needles that the tree leaves on the floor from the moment you bring it into the house until you drag its dried, dead body out to the curb on Valentine’s day). It would also be hung conveniently out of reach of our entranced felines (shiny. must. eat.), making for fewer late night wake-up calls and careful, moonlit tip-toes through the living room in an attempt to find the shiny vomit pile before it finds you (Inevitably the vomit pile is exactly one step in front of the light-switch, every time. And I step in it, every time.)
Instead of buying a wreath at the store I decided to make my own. I thought I was being frugal (some wreaths cost $20 or more!) and crafty (I have a glue gun and working fingers, AND I made that one thing I saw on Pinterest that one time, how hard could it be?). I searched the internet and Pinterest for a wreath tutorial but most tutorials were for wreaths made out of fake flowers. Faux floral arrangements always remind me of old folks homes, Chinese food restaurants, and REALLY cheap dates (“They’ll last forever” he said… which meant that we did not). I got the general idea of how to make a wreath from the online tutorials and headed out to the store to get some supplies.
On my way to the store- that’s where the tutorial picks up. If you want to follow along and learn how to make a holiday wreath, get out your keys and get ready. I now present:
My 4 step tutorial for making a quick and easy, fresh, holiday wreath.
Step 1- Proceed to store that sells wreaths. Step 2- Purchase wreath. Step 3- Display wreath. Step 4- Waste additional 4-5 hours that you saved not making your own wreath from some bullshit “quick and easy” tutorial (because they’re NEVER really quick and easy). Do something shameless like get a pedicure, practice your twerking, or have some vodka shots.The above tutorial is not what you expected? It’s not what I expected to pass along to you, but trust me, it’s definitely the best way of doing it. If you think you’re craftier than me or that your holiday spirit will carry you through the wreath making process… if you really want to persevere with making your own fresh, holiday wreath I have another tutorial for you. The tutorial below lists the steps that I actually followed when making my wreath. This tutorial starts at the same spot the last tutorial started. We’re on our way to the store for supplies- get out your keys and get ready. I now present:
My 20 step tutorial for making a holiday wreath, almost losing your husband, causing a cat miscarriage, mutilating your hands, and eventually realizing that Canadian children make the best fresh holiday wreaths.
Step 1- See vendor running pop-up Christmas tree market at the major intersection just 3 miles from your house. Realize that to sell wreaths like that for just $16 he’s most likely importing greenery from Canada, using child labor to build them, and using all of the profits from his fly-by-night operation to fund an underground guinea pig fighting ring in Nashua.
Step 2- Drive through intersection (for added flair give wreath/tree seller the finger). You’re doing the world, the children, and the guinea pigs a huge favor AND you can make a way better wreath than that with your adult sized hands. (This, of course, is a fact that you have to believe 100% to undertake and actually complete this project. It’s not true. Not at all. In fact, you should buy the imported Canadian sweatshop wreath. Once he cuts all of the branches off of the tree limbs for the wreaths I’m sure he’s sending the limbs through a wood-chipper to turn them into pine shavings. Shavings that his prize fighting guinea pigs will then use for bedding… it’s really an environmentally friendly operation.)
Step 3- Shopping for supplies. Since I really had no idea what I needed I just accosted a somewhat elderly looking woman in the floral department at the craft store that looked like she knew what she was doing. I walked up to her as she pulled out stalks of dried red berries and hideous glittering holly leaves, eyeing each one and mentally building the most atrocious arrangement for the centerpiece at her old folks home holiday dinner. I went for flattery and said “You look like you know what you’re doing back here in dried florals…”. Her cheeks blushed the color of the plastic poinsettia held in her left hand and she said “I dabble a little bit… for a couple of years…”
I told her my tale of woe- No tree, Tiny Tim the littlest guinea pig… She took me under her wing, walking me step by step through the wreath making process and the aisles at the Michael’s Arts and Crafts store. When I had all of the supplies and sage advice that I could carry she waved her glittering holly branch over me like the fairy godmother of florals. I felt like Cinderella heading off to the ball… unfortunately the only place I was going was the cash register (at least I had a coupon!).
Based on the advice that I received I purchased:
Wreath frame– I chose an 18” frame, only because they were out of the 21” frame. In retrospect I should have gone for the 12 incher and just made a bigger, gaudier bow. Spool of fine gauge green wire– it doesn’t look like barbed wire at the store but once you get home and start using it you’ll realize that’s what it is. Ribbon to make a bow– I chose a lovely ‘ho ho ho’ pattern. Spend lots of time on this step. Picking this out is the most fun part of the wreath making process. Oh and I recommend getting something red so you won’t see any blood stains on it. Decorations- I got some red and green miniature Christmas balls.Total spent $7.85 (I knew that guy on the corner was ripping people off! Kudos to me for saving $8.15)
Step 4- Have a snack. Seriously, that trip to the craft store was exhausting and it made me hungry. I couldn’t believe that old lady didn’t have any snacks in her purse… isn’t it some kind of law that once you hit 70 you are required to carry hard candies with you at all times (butterscotch, lemon drops, something). She seemed offended when I asked so maybe she was just a hurt looking 67? I’ll give her the benefit of the doubt and not report her to the authorities.
Step 5- Procure implements for harvesting greenery– A pair of pruning shears will probably do. If your pruning shears are buried somewhere in the garage in a pile of stuff that you haven’t unpacked since you moved 3 months ago (it’s winter, I won’t need those until spring…) you can always get out a handsaw that is WAY too big for the size branches you will be collecting and you can also use the pair of ‘utility shears’ your husband keeps on his workbench. The ones you’ve been told not to borrow because you never put them back in the right place, or when you do put them back in the right place they’re dull because you’ve used them to cut through something like tin cans or old tires.
Step 6- Bundle Up. My floral godmother told me to collect ‘a lot’ of fresh greenery. She really tried to stress ‘a lot’, in fact she seemed winded by the effort of it… maybe she was a smoker, could explain her looking prematurely old. I took her very seriously and got ready for a big expedition into the woods behind my house. I went for long johns (top and bottom), ridiculously big knee socks that I had left over from my roller derby days, jeans, sweater, scarf, down jacket, hat with ear flaps, and gloves.
Step 7- Pack a snack. You could get lost in the woods and be out there for more than 45 minutes without help or nourishment. At least grab a granola bar.
Step 8- Leave your husband this note. After all he’s expected home in about 5 minutes and you want him to know where you are and what you are doing.
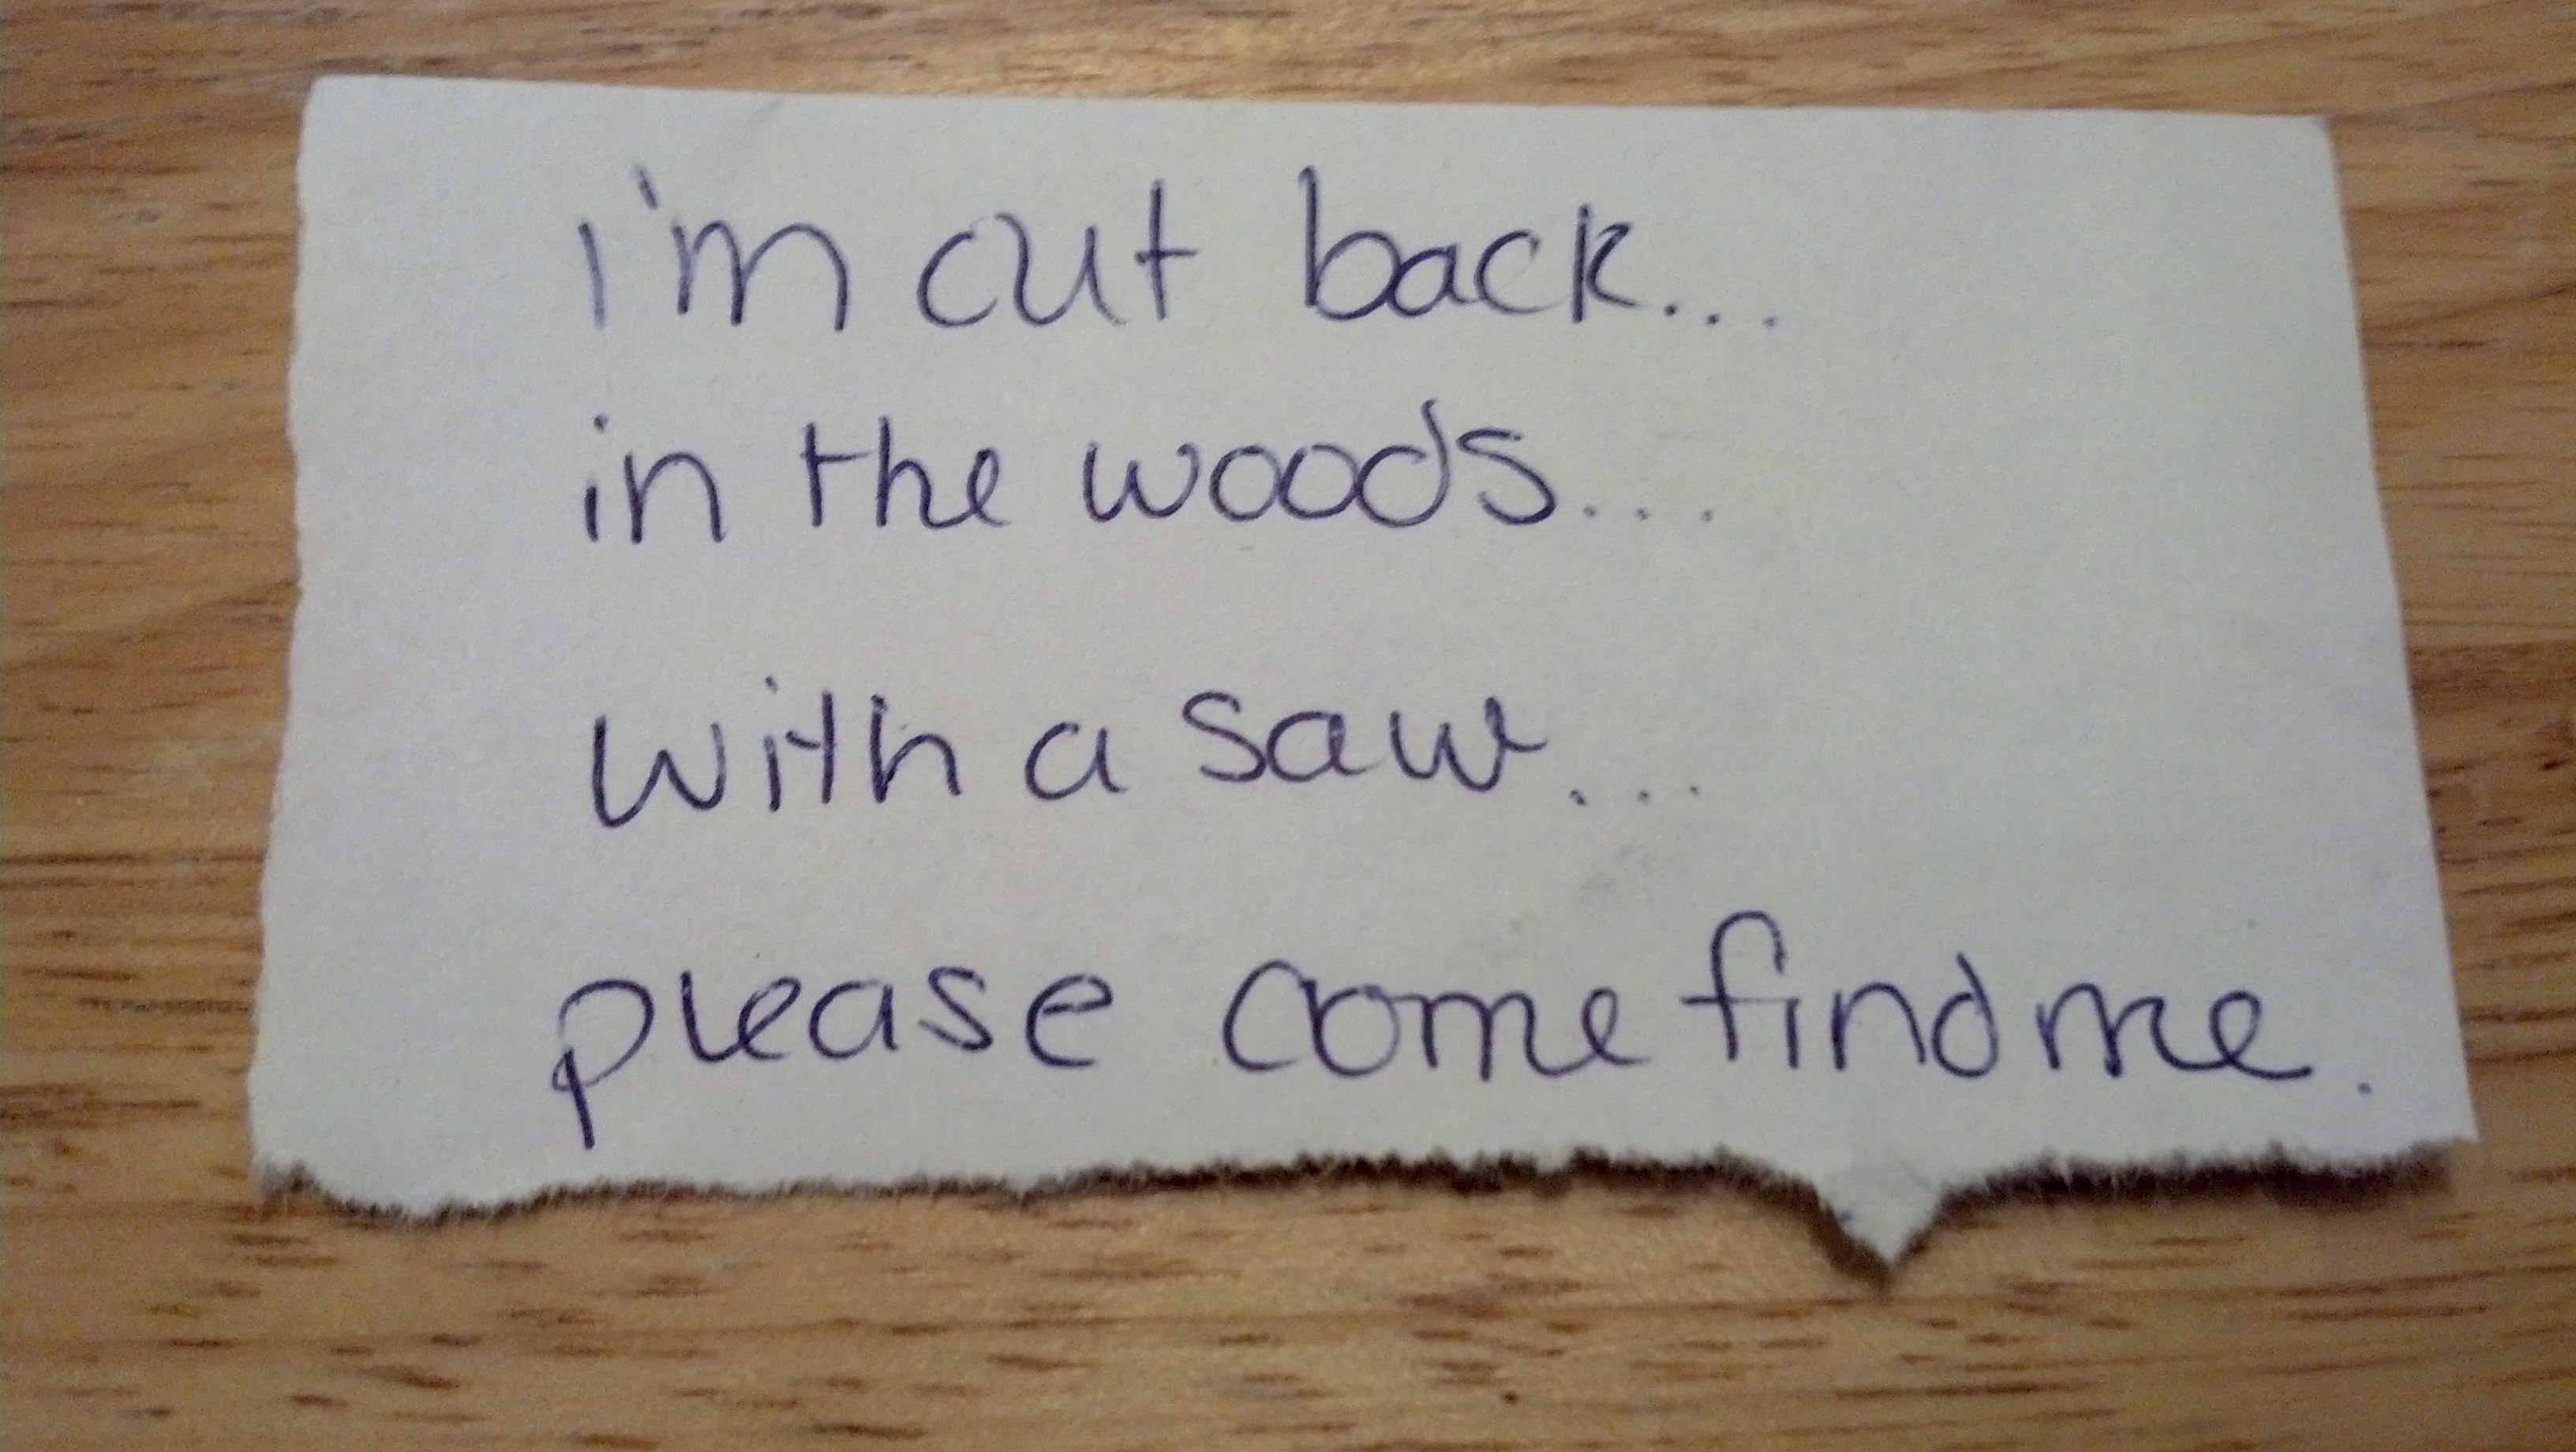
My husband didn’t come and find me in the woods. He didn’t get home until about 10 minutes after I came back into the house. He was 30 minutes late getting home from work that day. He says that he was ‘working late’. I was immediately suspicious because he never works late.
I am almost certain that he came home, found the note and decided that either New Hampshire had finally gotten to me and I was waiting in the woods to ambush him with the saw (in which case I wouldn’t say anything about the saw in the note… duh!) or that he’d finally had enough of my peculiar behavior and that here was his chance to make a clean break.
My guess is that he got half way to the airport when he remembered that he left his cat and his favorite utility shears back at the apartment. He sped back, cursing the whole way, and unfortunately found me back in the apartment (at least I was sans saw) foiling his getaway.
The only reasons my husband came back.
Step 9- Go outside and collect branches. Get the small, full looking branches. Avoid sap and spilling snow down the back of your jacket.
Step 10- Dry branches. Shake snow from branches and bring them in your house. Lay out a number of old towels on your kitchen floor and put snowy, soggy branches in a single layer on top. At this point you might think a really good way to remove excess moisture from the branches is to put another towel on top of the branches and then dance around on top of it in a RiverDance fashion while singing that Christmas Carol… the one where the only words you know are ‘Pa-Rum-Pum-Pum-Pum’. I wouldn’t recommend this for 2 reasons.
1- I think this is why all of the needles started falling off of my wreath only days after I made it and 2- If your husband, who is already questioning your sanity because of a note involving a saw, returns home at that moment… it’s probably not going to help you any.
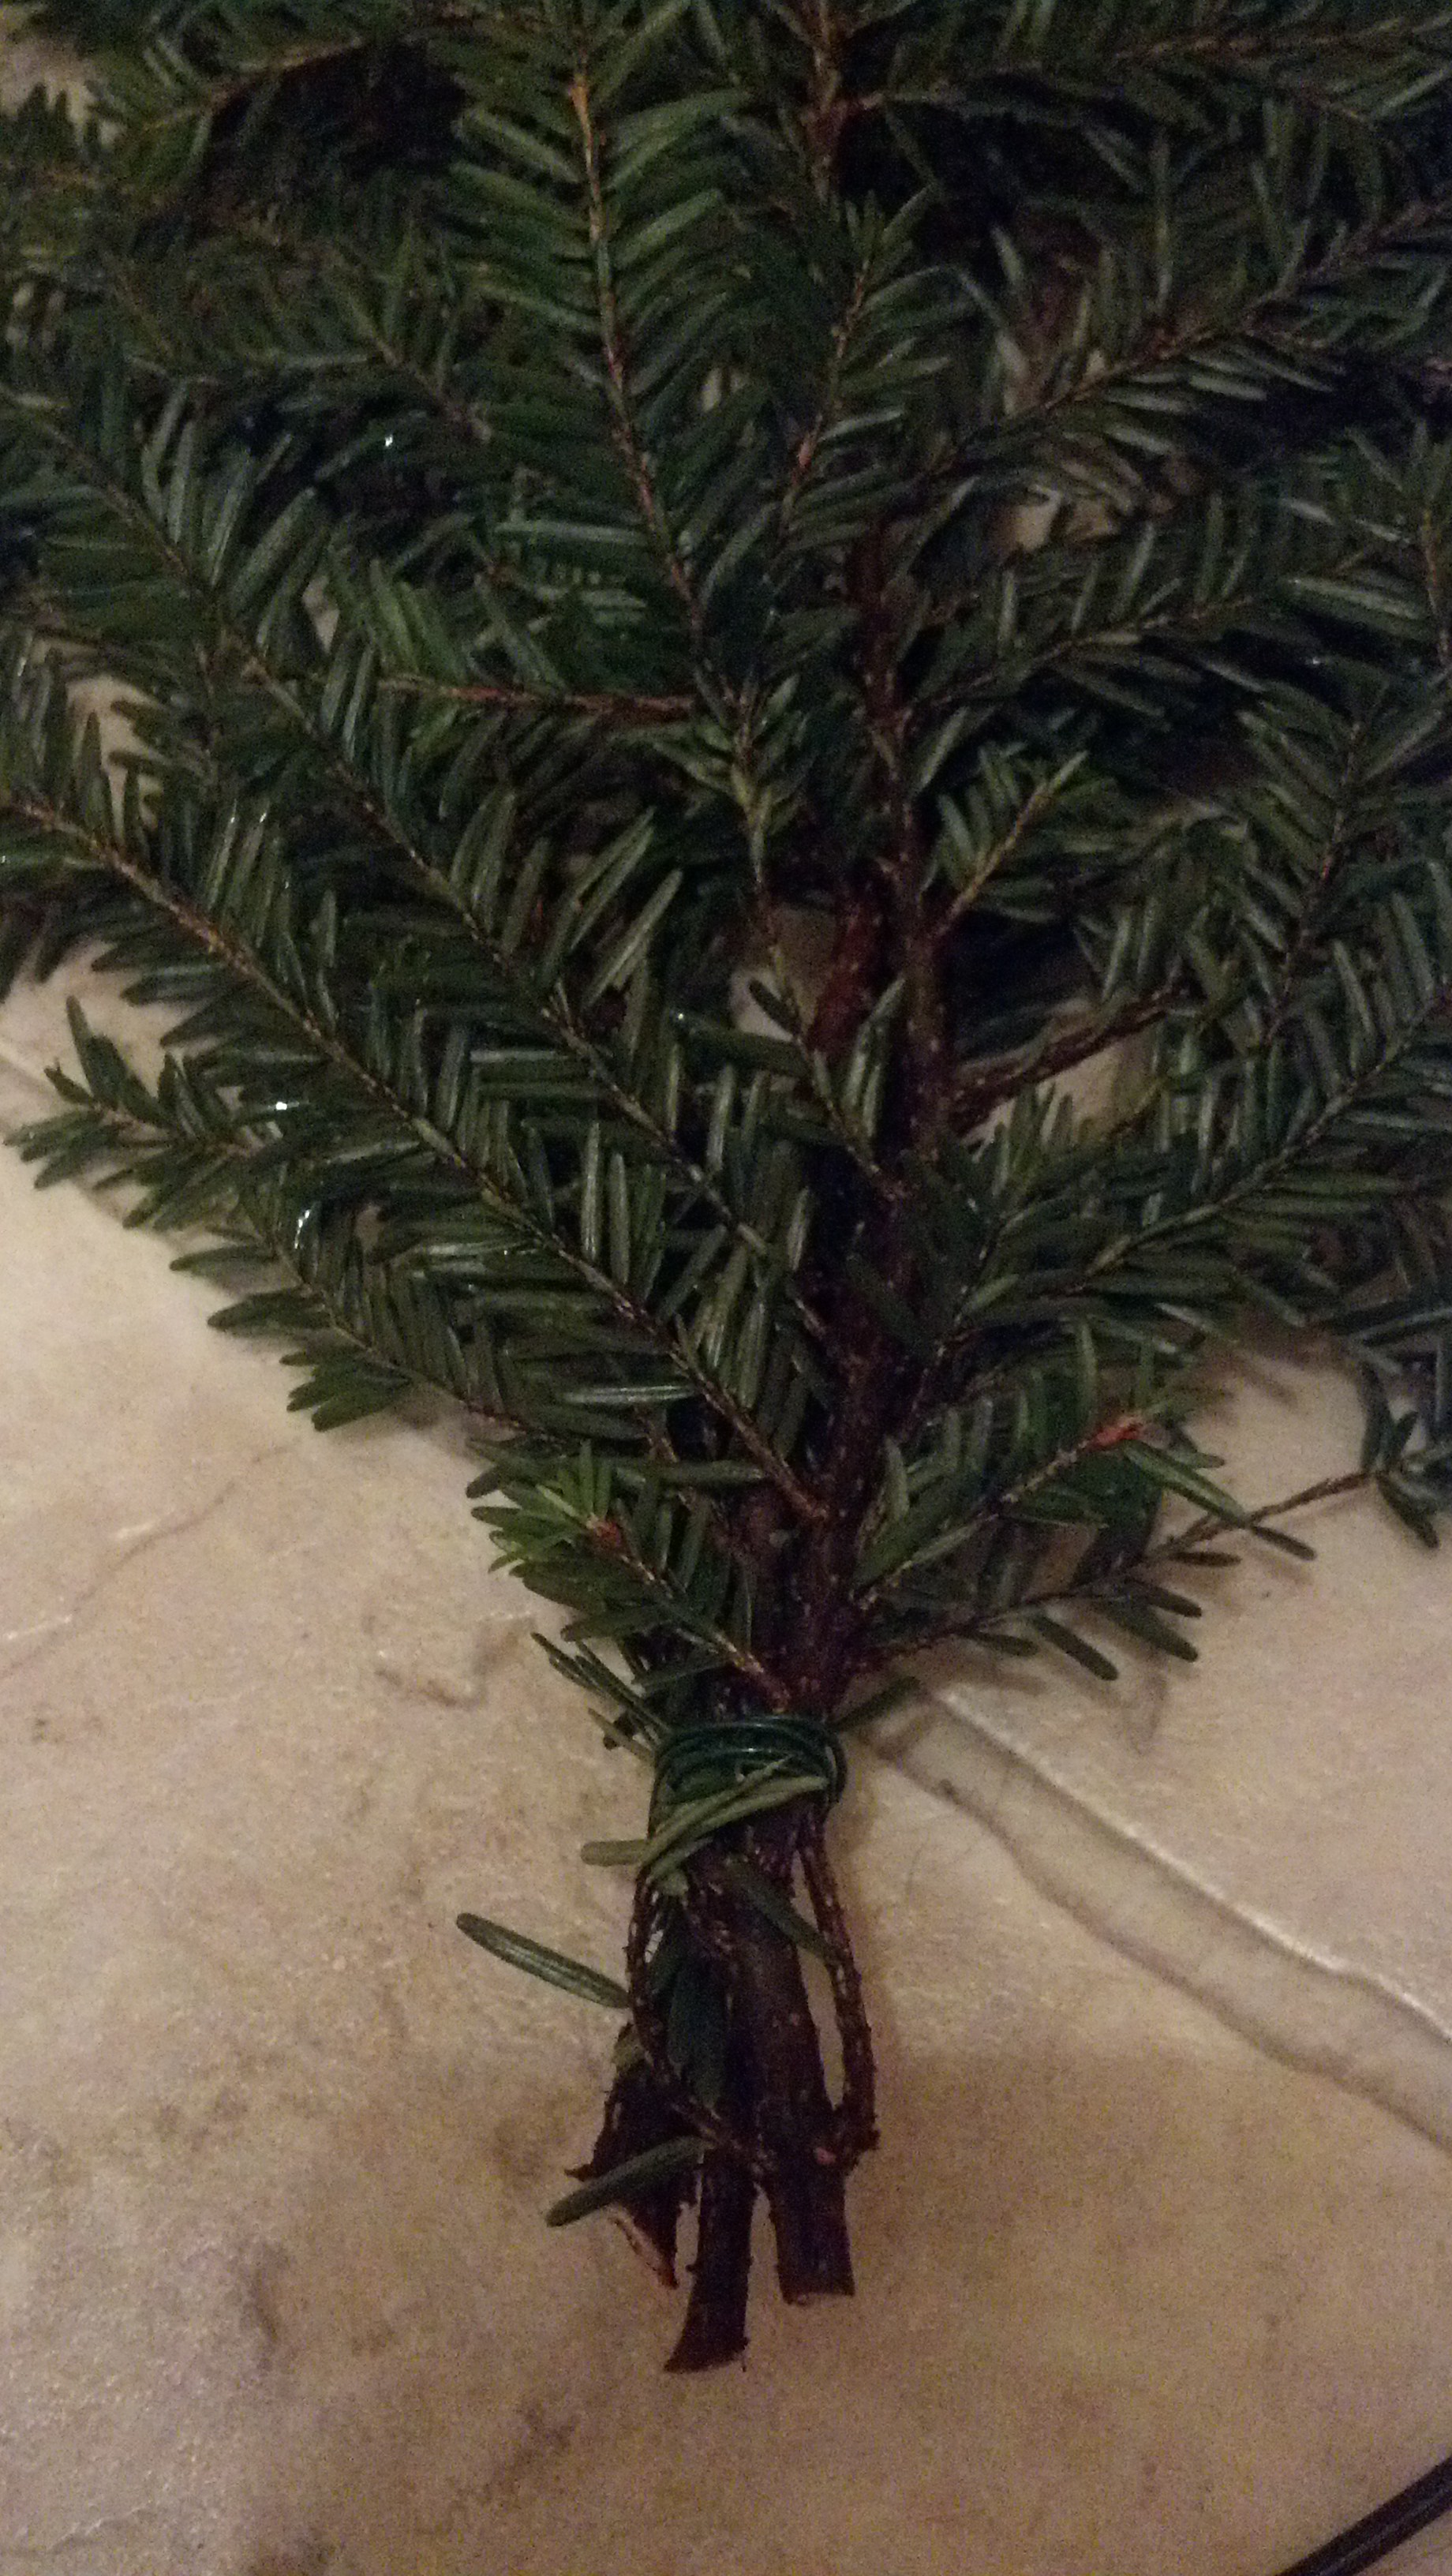
Fresh Greens
Step 11- Have another snack. All of that branch collecting and dancing burned a lot of calories. I went for a full dinner at this point. It was a little difficult to get in there and cook with all the branches on the floor but since I was cooking my specialty (spaghetti) there wasn’t too much kitchen time or prep work involved.
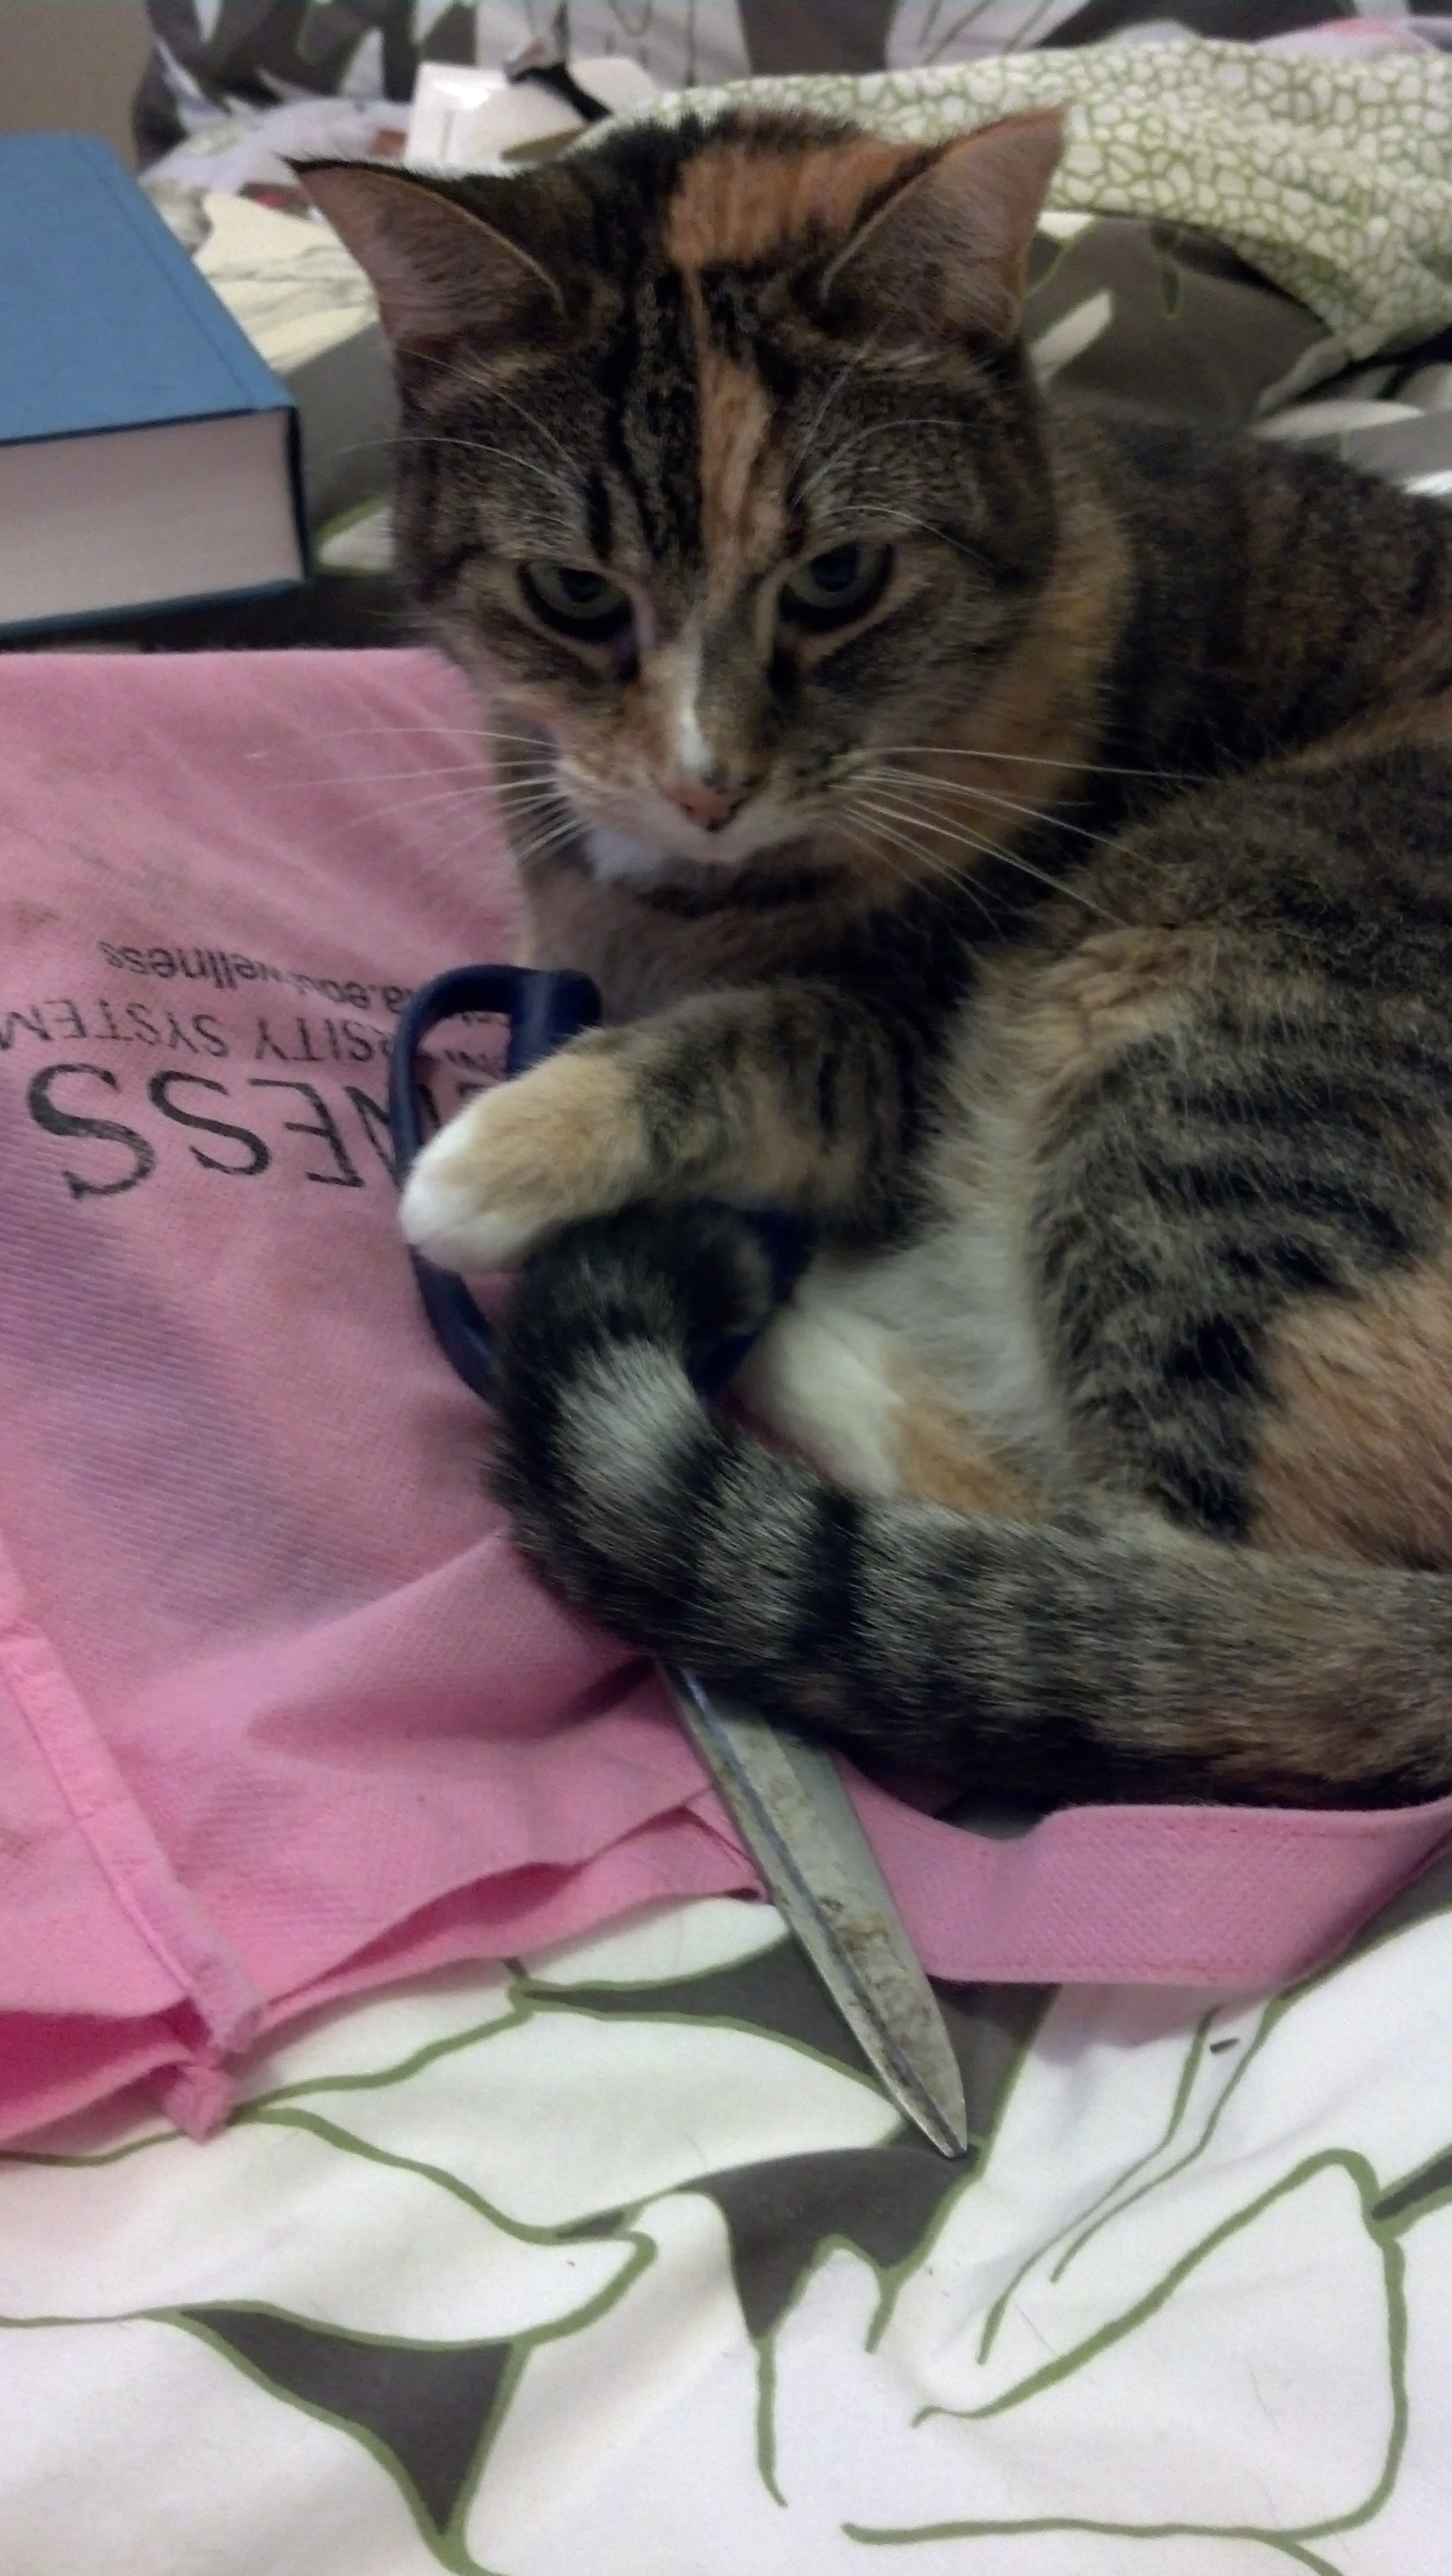
During this step you’ll also have to keep your cats out of the kitchen so they don’t eat the fresh greenery. I tried to use scare tactics by telling Willi and Animal that eating pine needles causes miscarriage in goats (I knew that Master’s degree would come in handy for something). My ominous warnings prompted only disinterested stares from the other side of the kitchen. My spayed, ovary free felines then chomped their way through an entire branch before retiring, pine fresh, back to the sofa for the rest of the evening.
Step 12- Clip 6-8” pieces of greenery off branches (the utility shears work really well for this step). Tightly wrap 5 or 6 of these pieces together into a bundle using 6” pieces of fine gauge green wire.
Bundle
Step 13- Repeat Step 12 until you have enough bundles to cover your wreath frame. Approximately 30-35 bundles will cover an 18” frame. You’ll know when you’re about done because your hands will start to look like Bruce Willis’ feet in the original Die Hard movie (why was he barefoot? who takes off their shoes at a fancy Christmas party?). Like John McClane you must persist… I’d hate for Hans Gruber to get you.
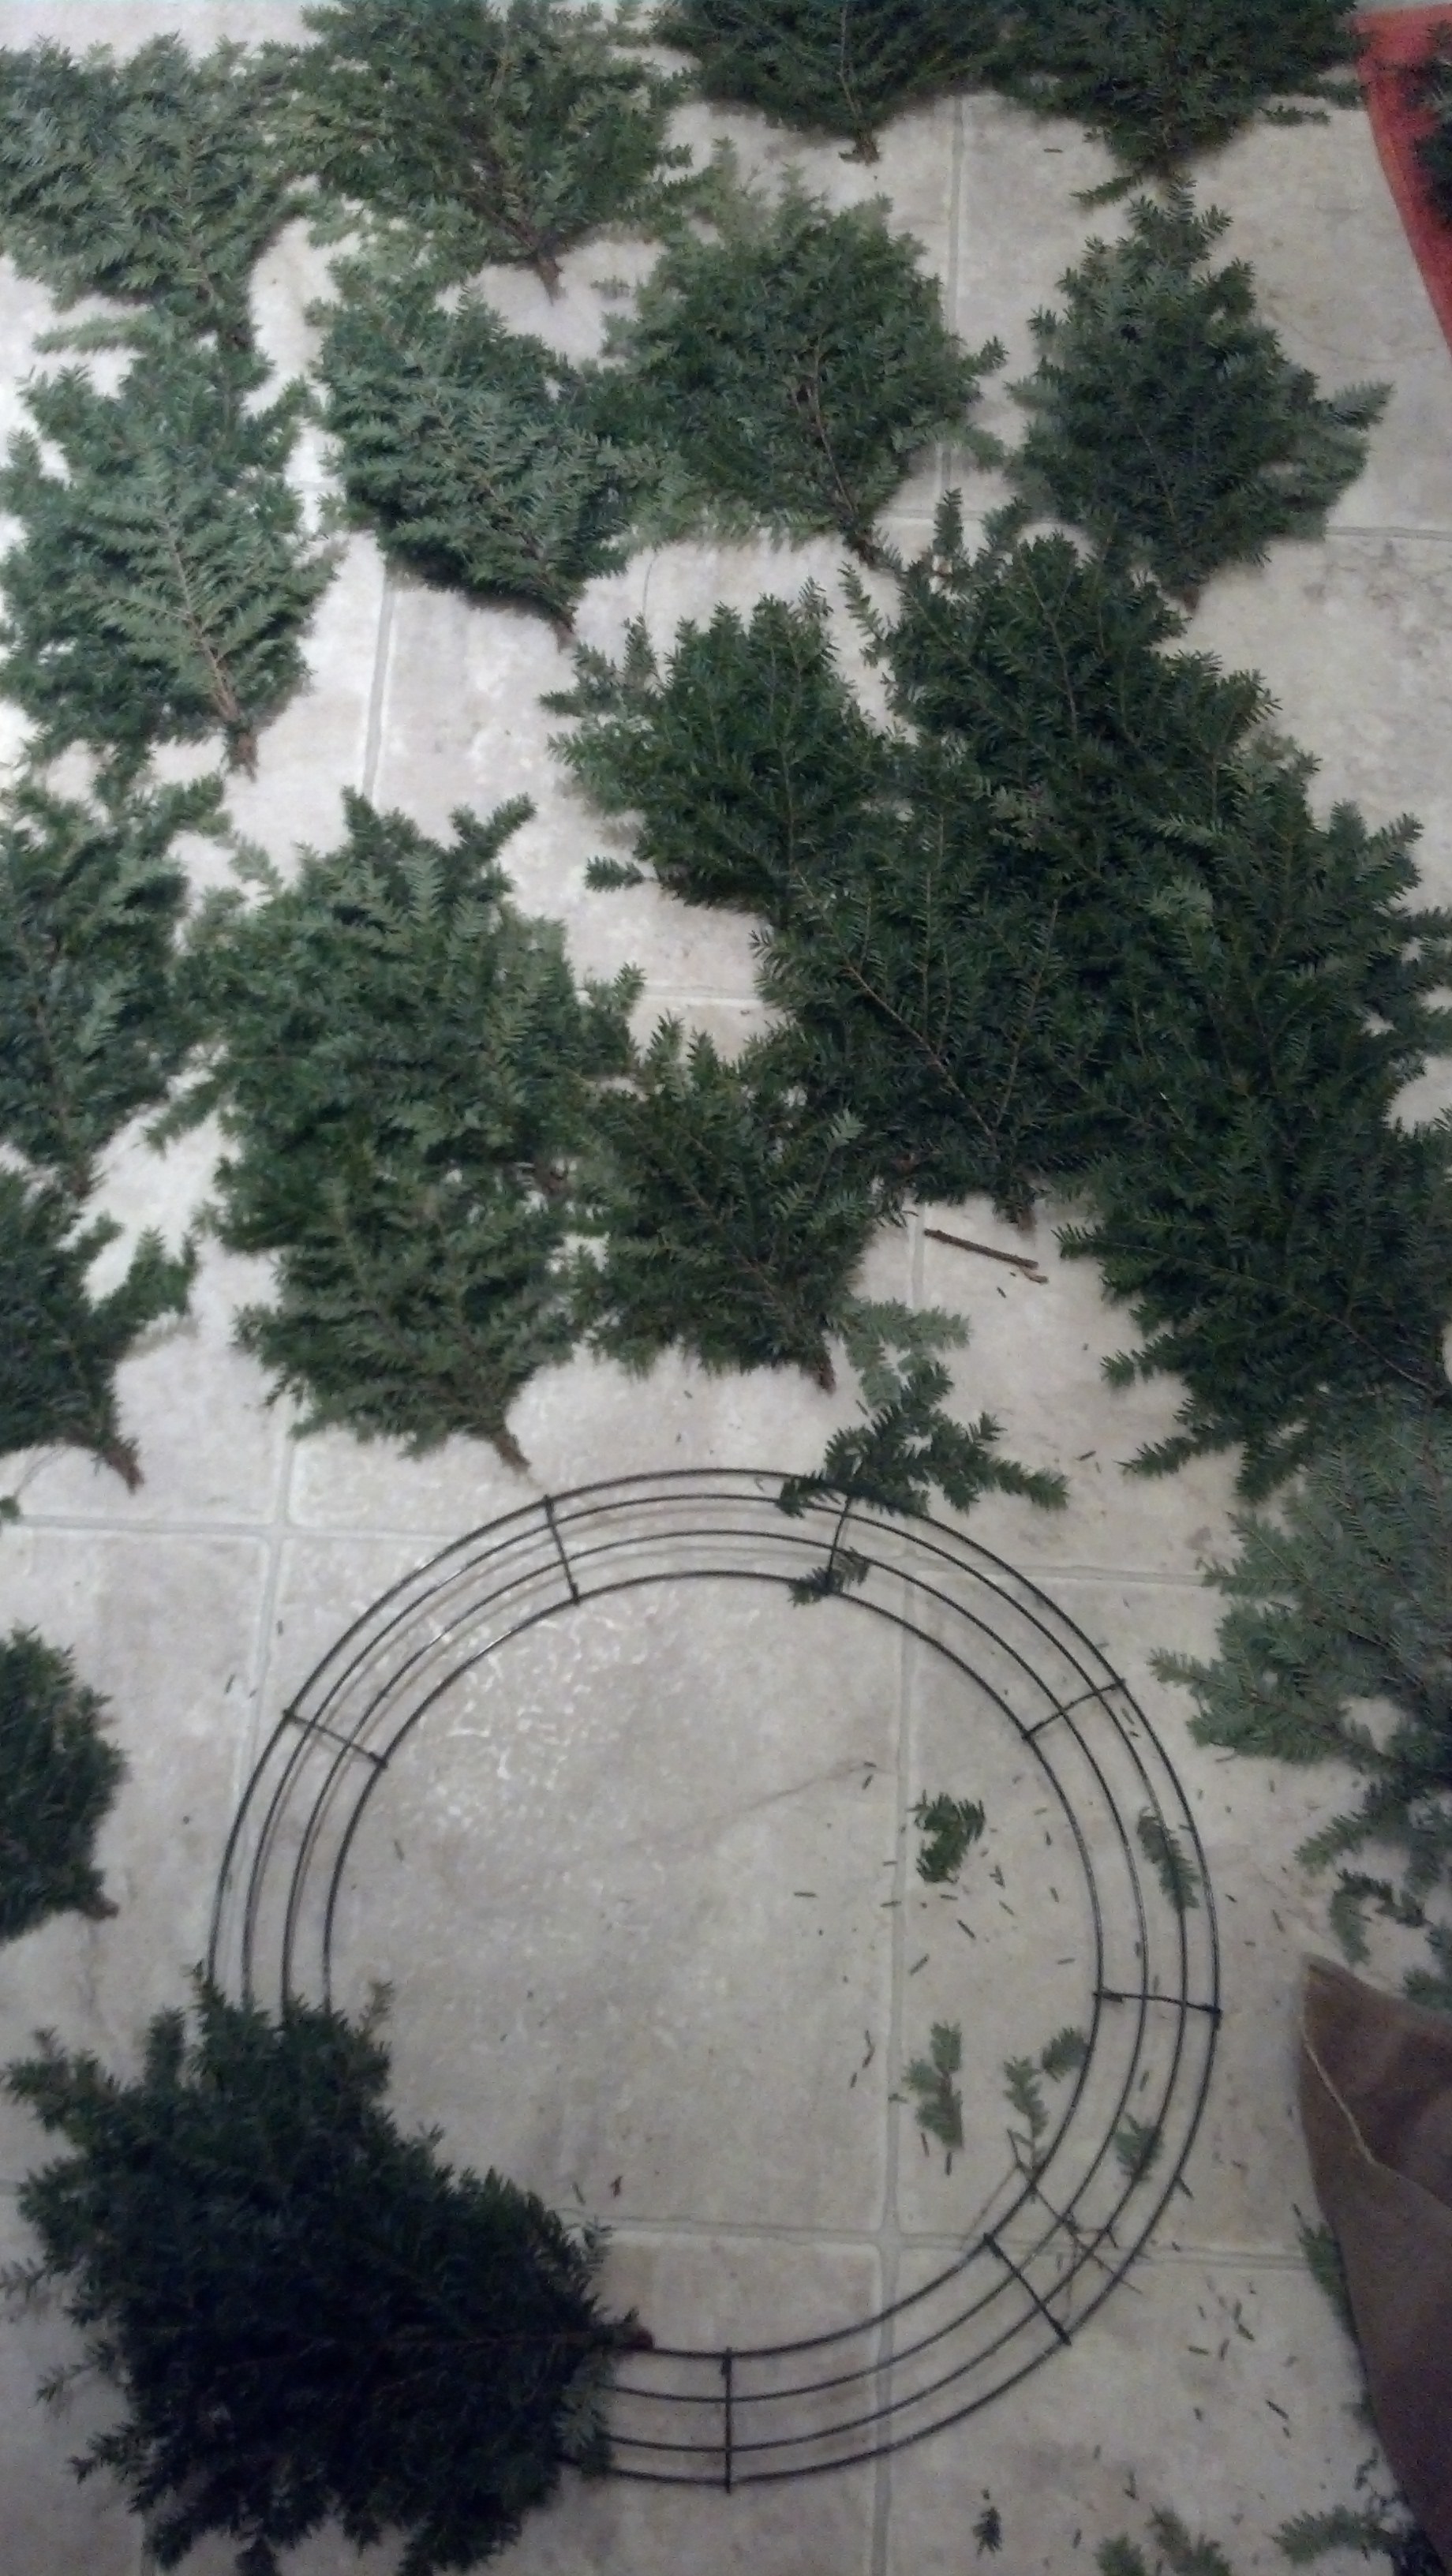
Bundles and Bundles of Bundles!
Step 14- It’s been at least an hour since Step 11 when you last consumed food. Normally I would say we’re due for a snack break but the condition of my hands totally made me lose my appetite. If you can eat something at this point, do, we still have a ways to go.
Step 15- Wrap bundles onto wreath frame. Lay 1st bundle on frame, wrap tightly onto frame using 6” of fine gauge green wire, twist the end of the wire into bundle on the back of the frame. This serves the dual purpose of keeping the wire from scratching your doorframe (or your clothes and eyeballs) and helps to make deeper puncture wounds in your hands than you were able to sustain with the wrapping in Step 13 alone. Work backwards from the 1st bundle, slightly overlapping each bundle to cover the end of the previous bundle and create a nice full wreath.

Wrapping onto frame.
Step 16- Your hands will now look like they’ve been put through a meat grinder. We might as well cauterize the wounds… it’s time to get out your glue gun. In this step we’ll make a bow for your wreath. I had no idea what I was doing so I decided to try and find a tutorial online for making a wreath bow. These are also bullshit. I ended up with something that looked like it was made by a kindergartner on ‘Learn to Tie Your Shoes’ day. In the end I cut some long pieces of ribbon and wrapped them in a bow-type fashion, using lots of hot glue to both secure the layers together and further deform my hands with second degree burns.

I didn’t realize that half of the ho-ho-ho’s were upside down until after I glued it on. Oh well…
Step 17- Once your ‘bow’ is completed you can either wire it onto your wreath frame using a long piece of the green wrapping wire or you can glue it down with your glue gun. I chose the less painful of the 2 evils. Having limited muscle control left in both mangled hands I squeezed out a quantity of hot glue roughly equivalent to the magma flow generated in the 79 A.D. eruption of Mt. Vesuvius. I laid the wreath down on my kitchen floor and pushed the bow down onto the glue.
Step 18- Walk away to let the glue cure. Sit on the sofa. Encourage your cats to go and eat more pine needles. There are needles everywhere, it looks like a pine tree fell over in your kitchen at this point. I’m gonna go with word from Ke$ha and yell “TIMBER!”. The more the cats eat, the less you’ll have to clean up. Cats are suddenly, mysteriously, disinterested in pine needle consumption.
Step 19- Lift wreath off kitchen floor… if you can. Given the condition of your hands you might not be able to lift anything. In my case it wasn’t just the burns and cuts causing the problem… turns out I used a little too much glue and it ran through the pine needles onto the kitchen floor. I thought briefly about displaying the wreath right there in the middle of the kitchen floor but then thought I better peel it up since it might be a hazard if it gets between me and food at the wrong time. Lucky for me the glue didn’t melt the linoleum… phew (rental)!
Step 20- Hang wreath in its chosen place of honor. Add decorations.

At this point your wreath is finished and the tutorial ends. However, I’d like to also pass along some additional advice. You should probably:
Wash your hands right away (it’s going to hurt). Apply a generous amount of antibacterial ointment, then maybe cover your hands with some gloves to seal it all in. Oh, work gloves…. that would have been a good idea somewhere around Step 12!
Leave the giant mess in your kitchen. You’ll get it tomorrow… or the cats will get it… or your magical floral-y godmother will come and clean it up in the night. I thought the latter was what happened in my kitchen but I think my husband said something about cleaning up a big mess when he was asking me, once again, where his utility shears were.
Get a tetanus shot. Just in case.
It turns out that my wreath came out pretty well. Nonetheless, I’m thinking that next year I’ll pay the extra $8.15 to support the Canadian children’s fund.
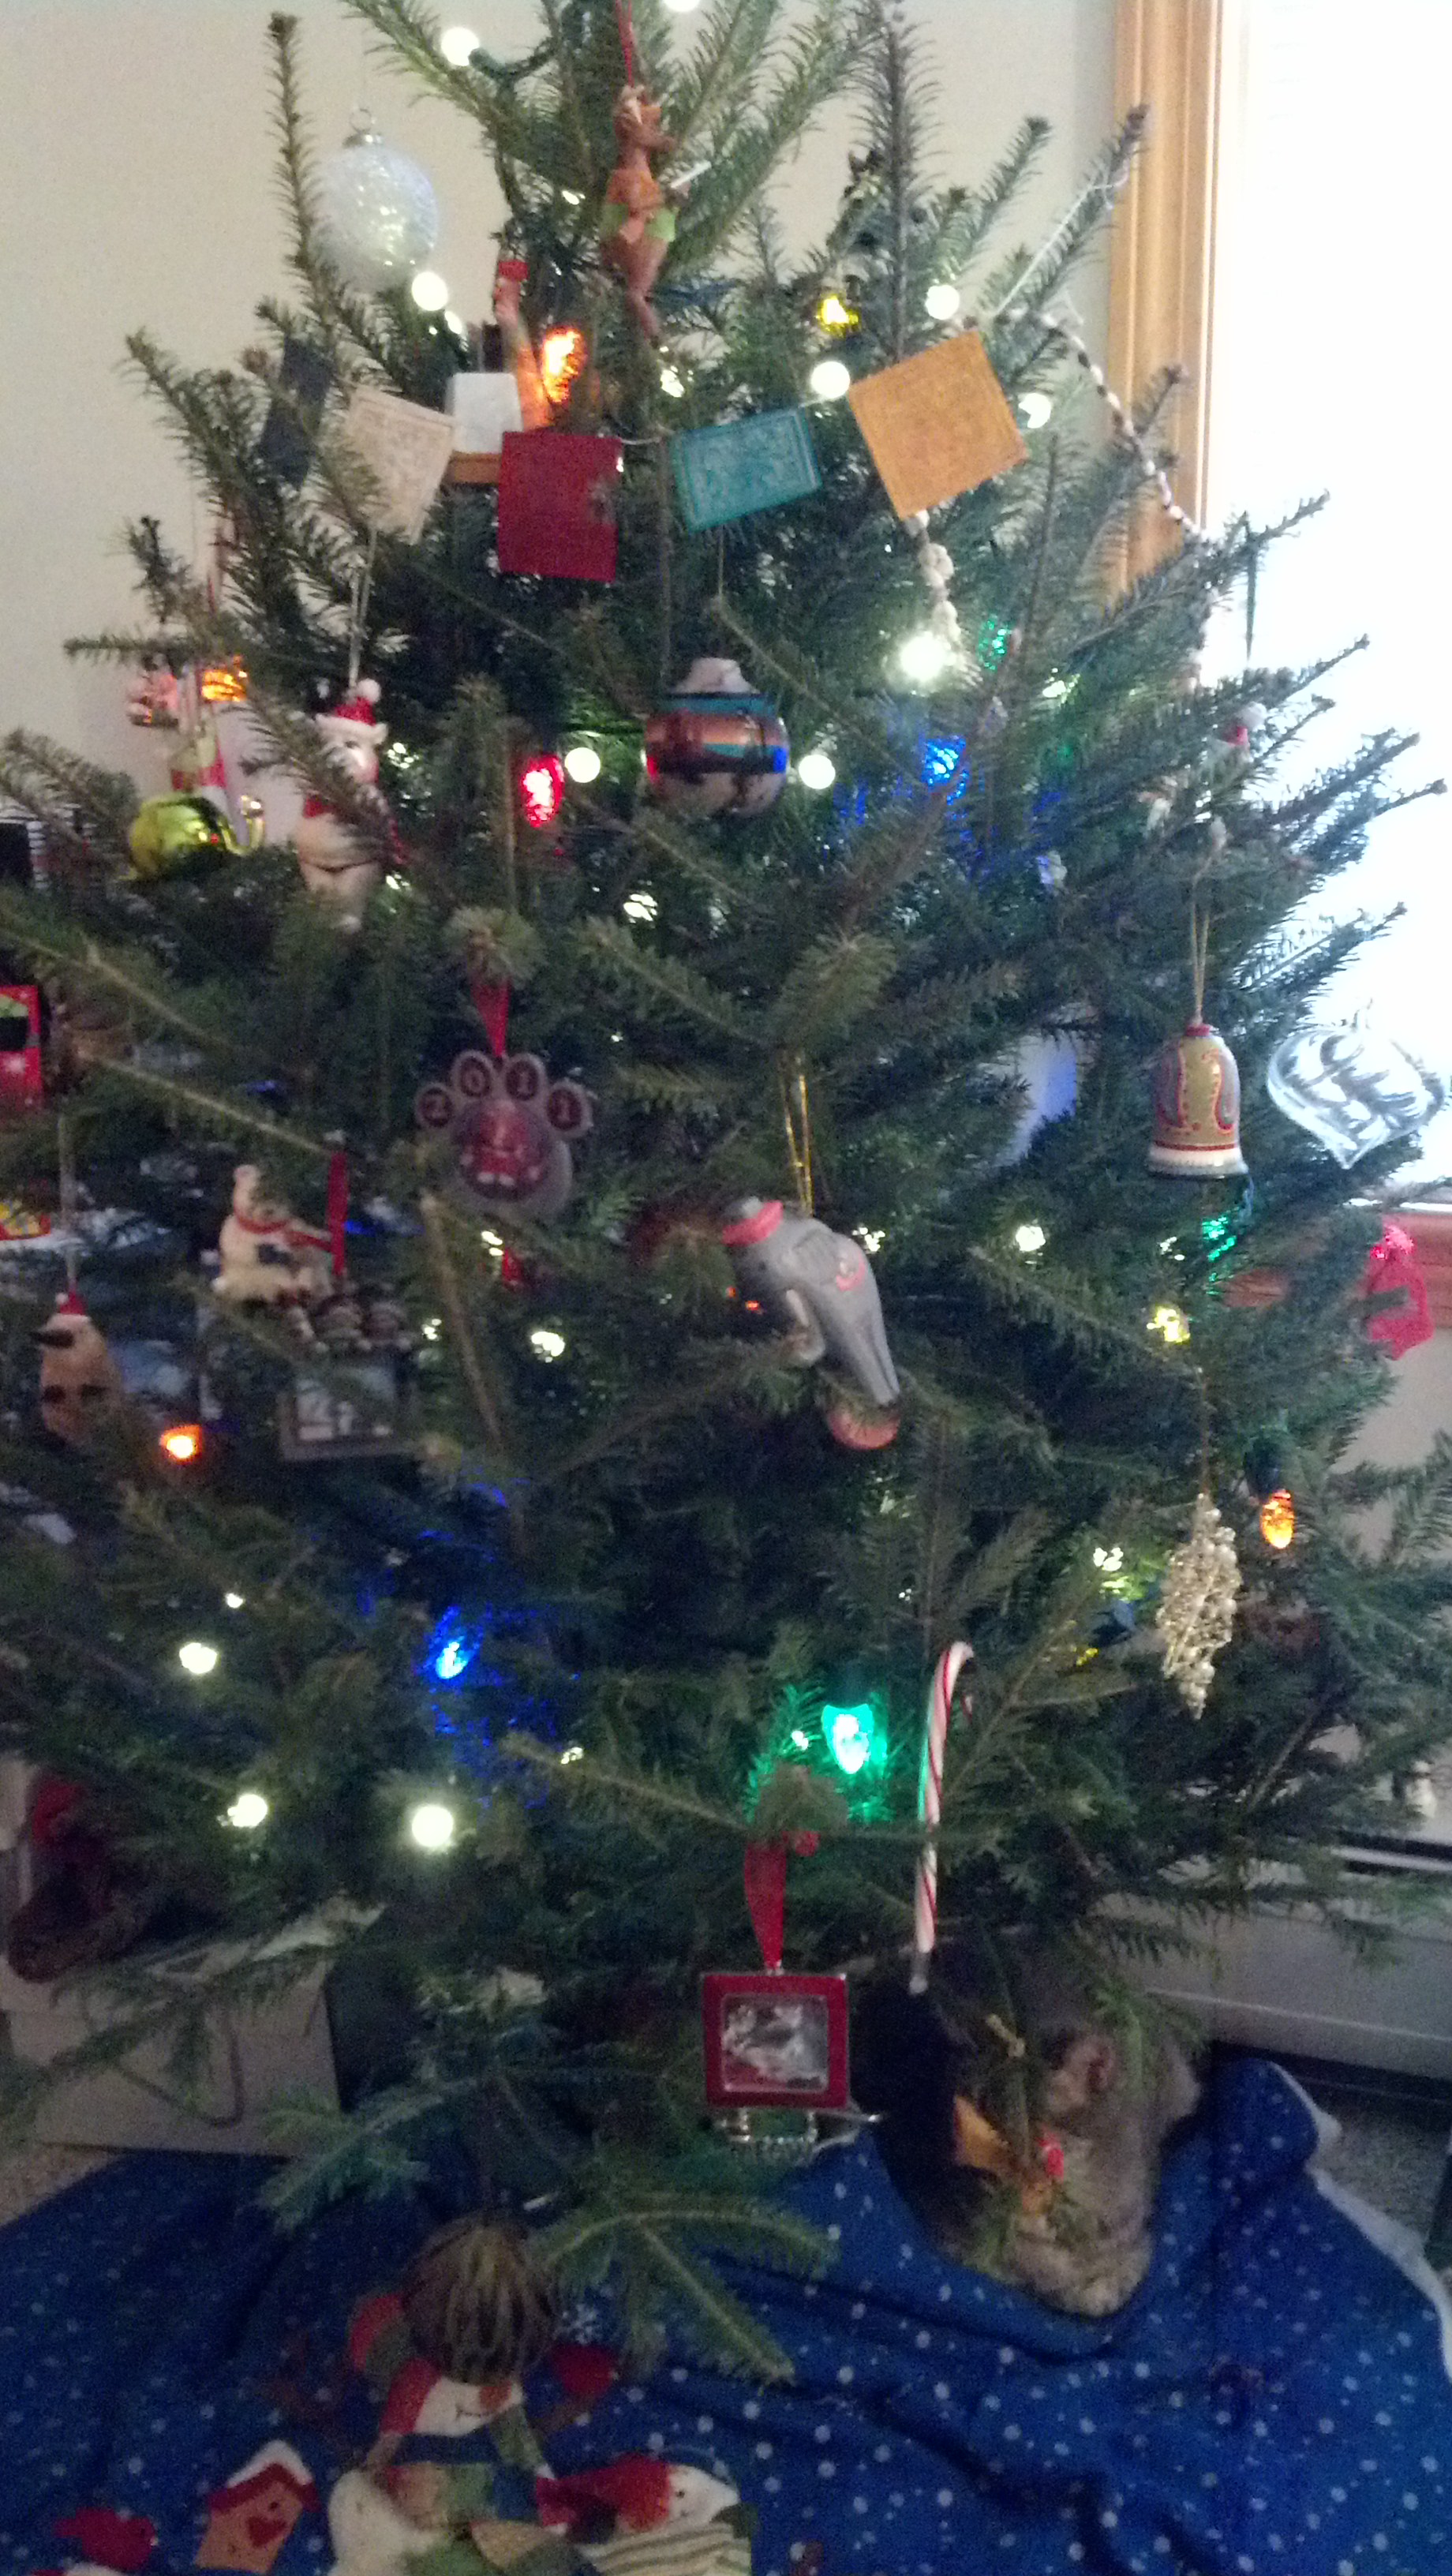
It also turns out that my husband wasn’t working late after all, nor was he headed to the airport. He was doing Christmas tree reconnaissance. He knew how upset I was about not having a tree and he went to the pop-up vendor and looked at trees that night after work. On the eve of Christmas Eve I came home and found this beautiful, little, Canadian tree smashed into the corner of our bedroom. I hope our tree purchase will fund the career of Nashua’s next superstar fighting guinea pig, in my mind he is named John McClane.